
Getting Started with Maps
If you’re opening Maps for the first time, start with a background, one character token, and a grid. That gives you enough to learn the controls without setting up every feature at once.
Before You Start
Section titled “Before You Start”You’ll need:
- An RPG Sessions account
- Membership in an RPG Sessions game
- A game with Maps access through a Patreon subscription or table token
- GM access if you want to create pages, upload assets, or change map settings
Open Maps
Section titled “Open Maps”- Sign in at rpgsessions.com.
- Open your game table.
- Select Map Editor.
Maps loads inside the game table and uses your existing session. You don’t need to sign in again.
If the game doesn’t have a map yet, the GM gets an empty page to start from. Players open on the game’s default map page.
Learn the Main Controls
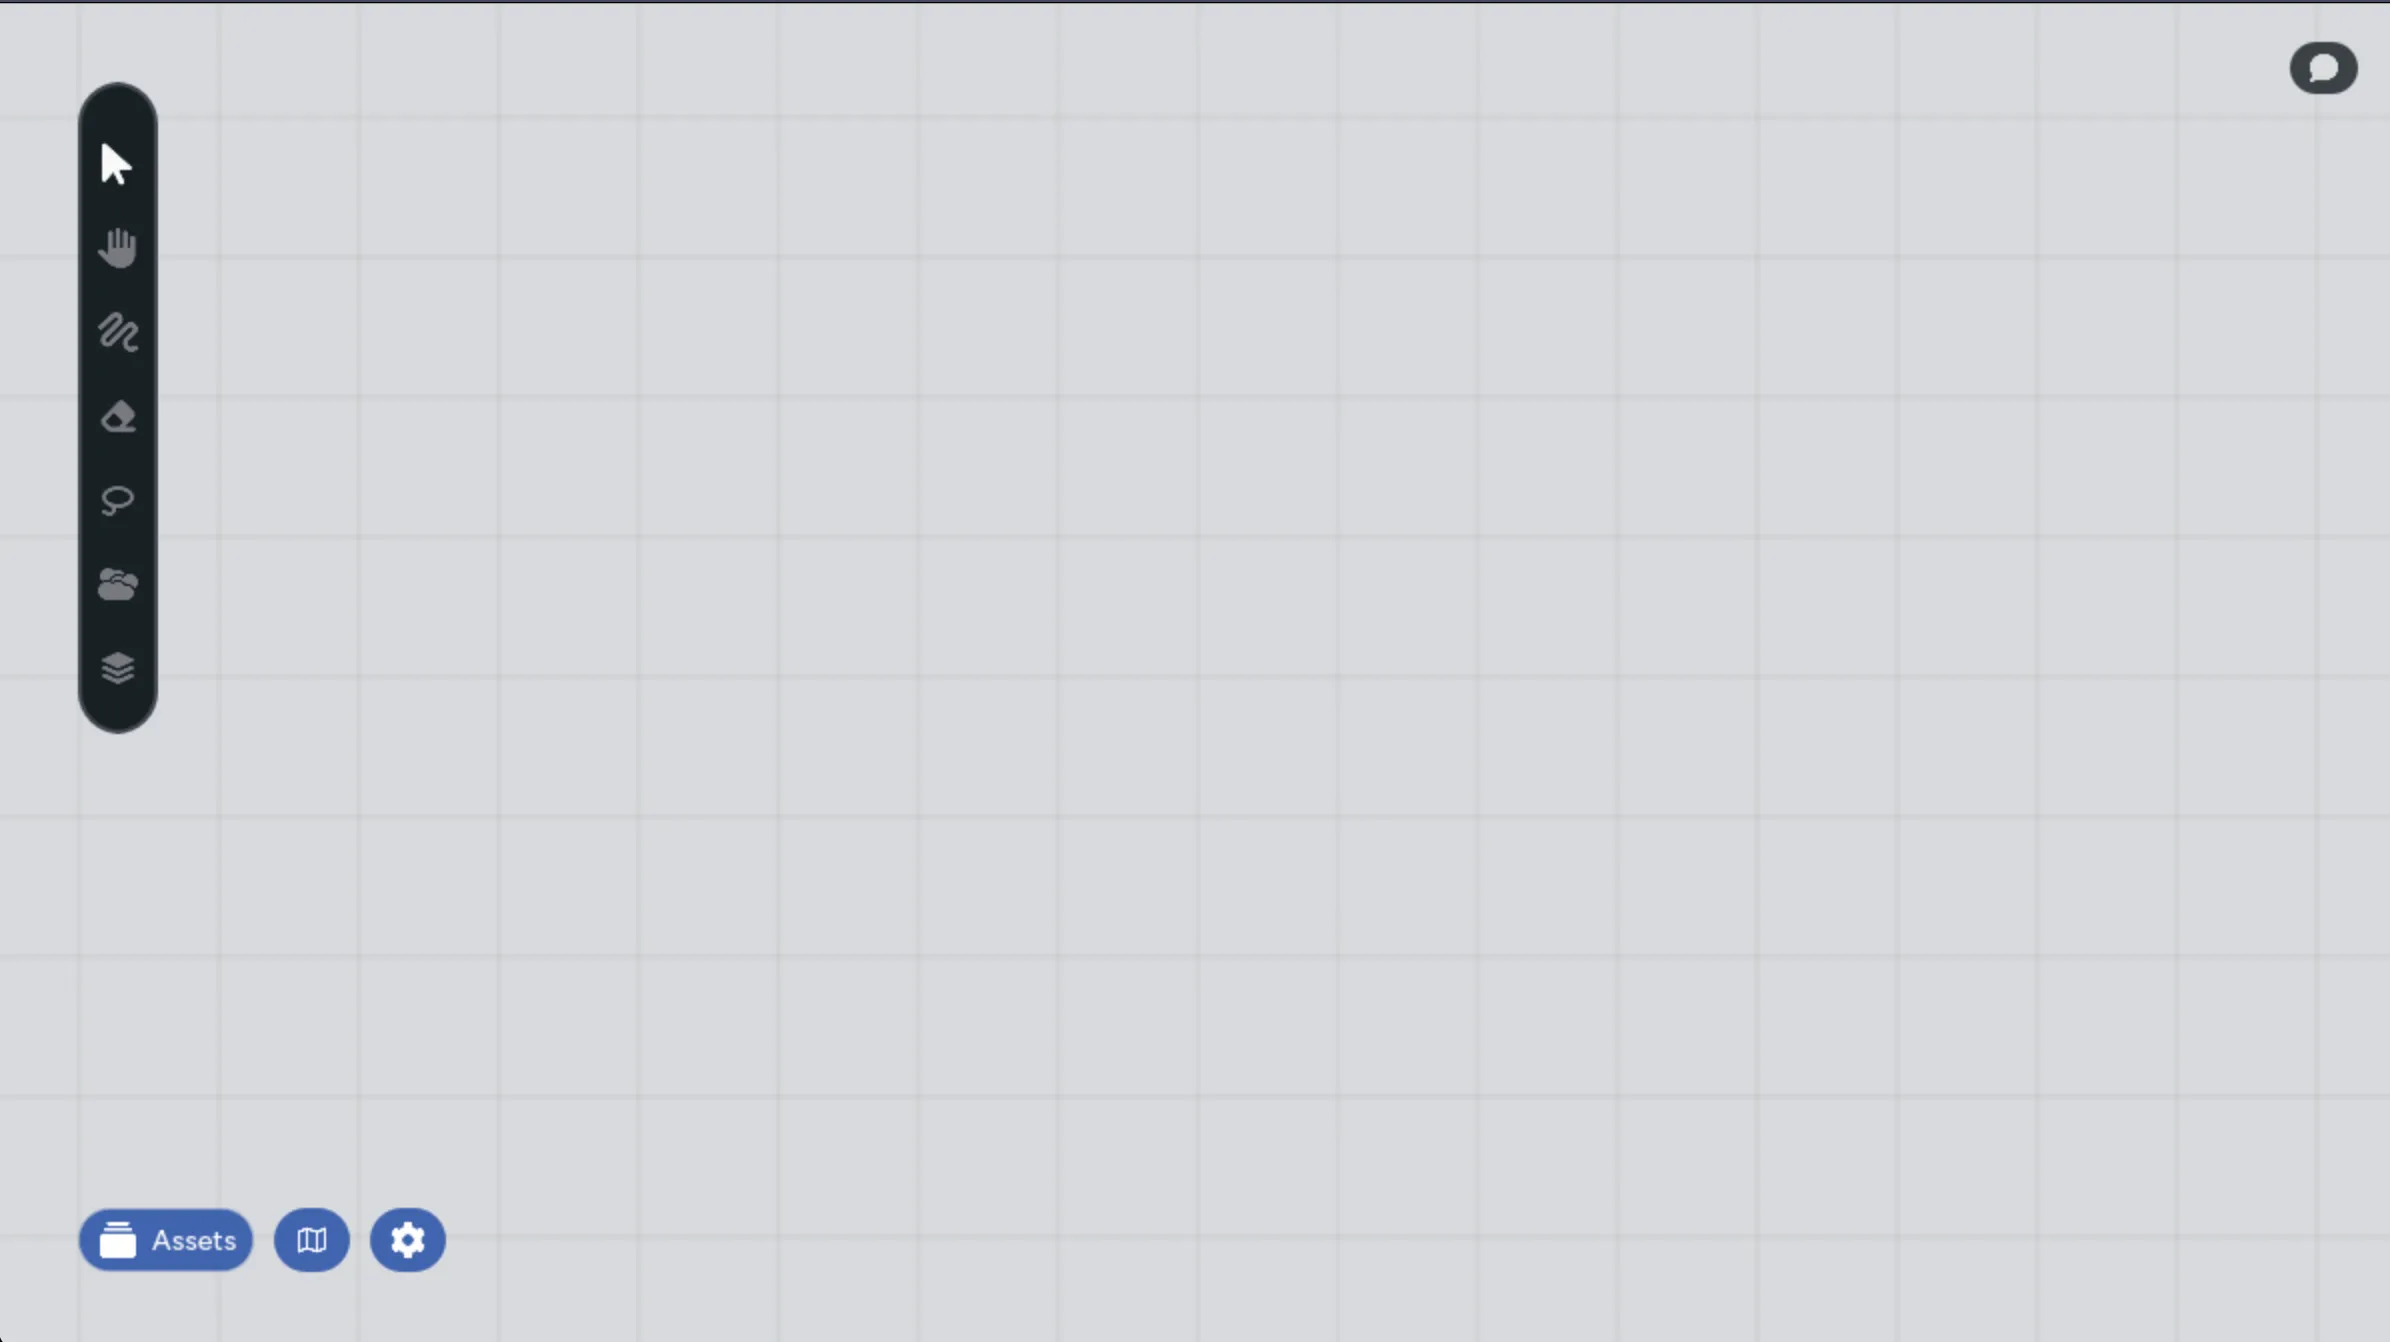
Section titled “Learn the Main Controls”The desktop layout keeps map tools along the left side. The controls that open larger panels sit around the map edge. On a phone or narrow tablet, those actions move into a top bar and floating tool menu.
Left Toolbar
Section titled “Left Toolbar”The toolbar includes:
- Pointer for selecting and moving assets
- Ping for marking locations and tracing routes
- Hand for panning
- Brush and Eraser for drawing
- Lasso for selecting several assets
- Fog for covering and revealing areas
- Walls for lighting, line of sight, doors, and movement blocking
- Notes for placing editable text
- Panel buttons for layers, clocks, map assets, and other map tools
You don’t need all of these for your first map. Start with the Pointer and Hand tools.
Map Panels
Section titled “Map Panels”The main panels cover different jobs:
- Assets holds uploaded images, actors, encounters, and public content.
- Maps holds map pages and folders.
- Map Assets lists named characters and vehicles on the current page.
- Settings controls the grid, background, display options, dice, lighting, and performance.
Panels can overlap on a large screen. Maps keeps the active panel in front, and most panels can be moved or resized.
Move Around the Map
Section titled “Move Around the Map”Desktop
Section titled “Desktop”- Select the Hand tool or press
H, then drag. - Hold the middle mouse button and drag with any tool selected.
- Hold
Spacefor a temporary Hand tool. - Use a mouse wheel or trackpad gesture to zoom.
- Use
Cmd/Ctrl+=,Cmd/Ctrl+-, andCmd/Ctrl+0for keyboard zoom controls.
- Drag empty map space with one finger when the active tool allows it.
- Use two fingers to pan and zoom without drawing or moving an asset.
- Open Settings > General > Layout if you need to force the mobile or desktop layout.
The Home button returns you to the page’s saved default view if you lose your place.
Add a Background
Section titled “Add a Background”There are two useful background workflows.
Place a Full Map Image
Section titled “Place a Full Map Image”Use this for a dungeon, town, ship, or other complete battle map.
- Open Assets.
- Select Upload and choose the image.
- Add the uploaded image to the map.
- Resize and position it.
- Lock it or move it to a locked background layer.
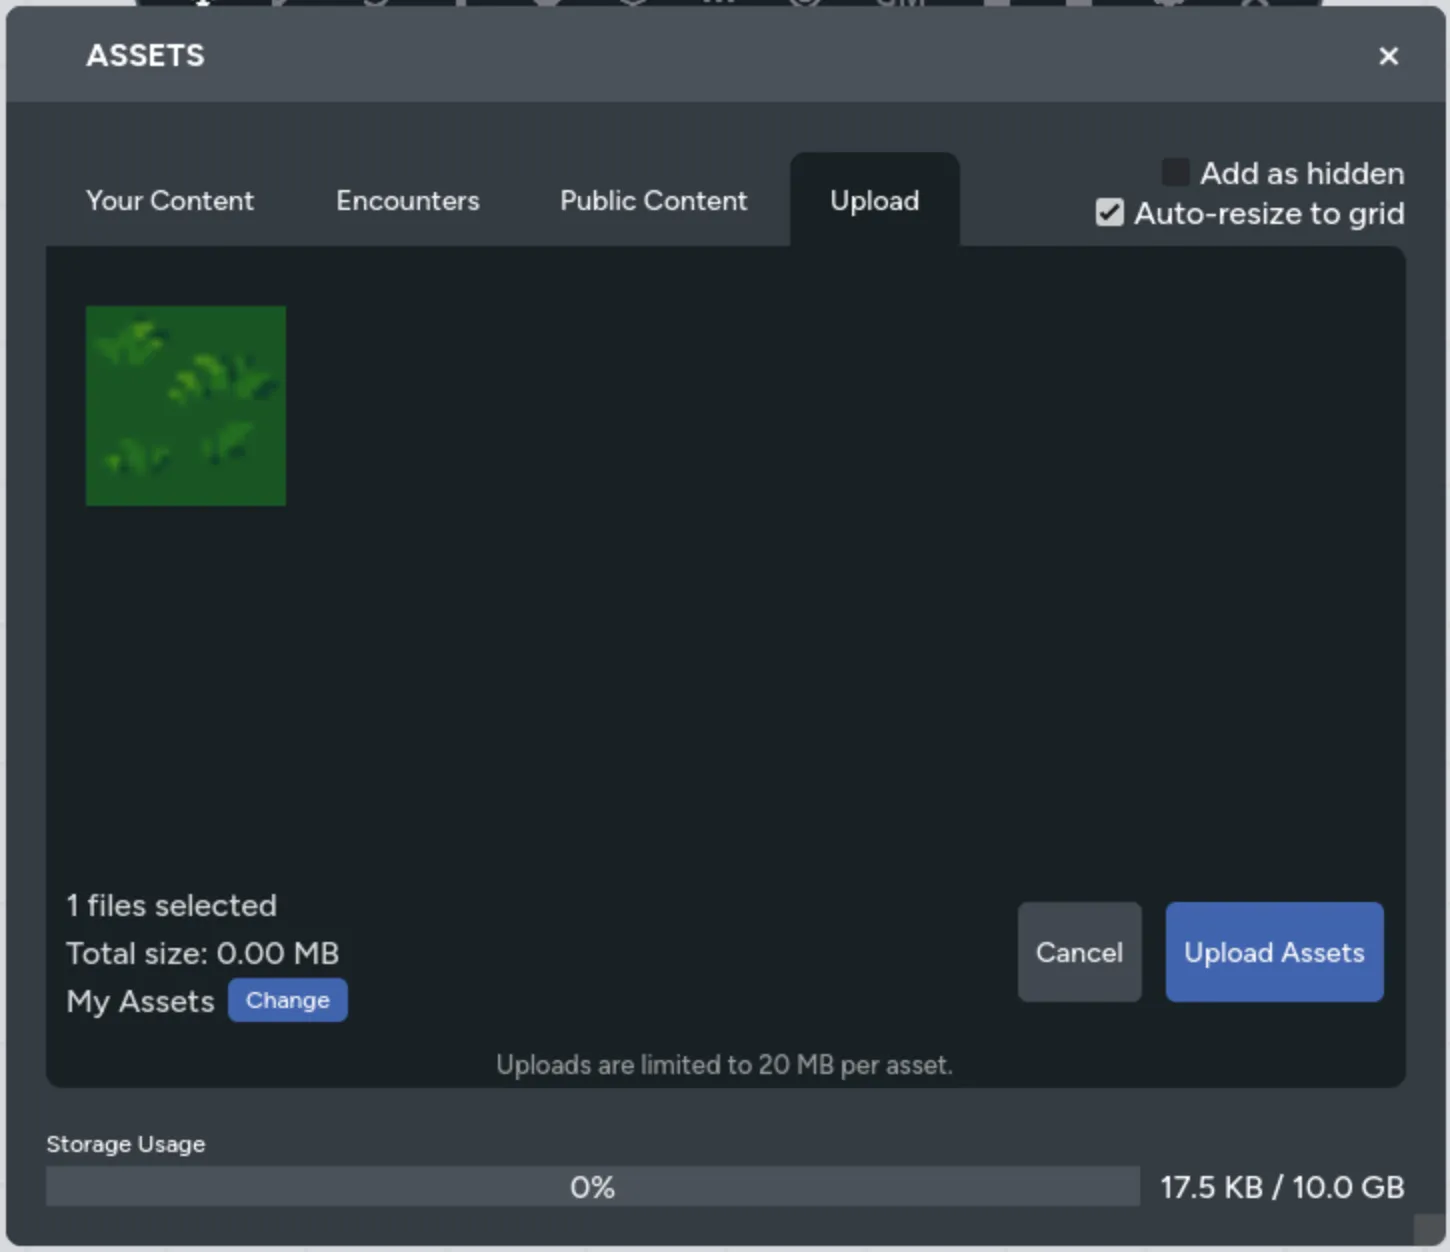
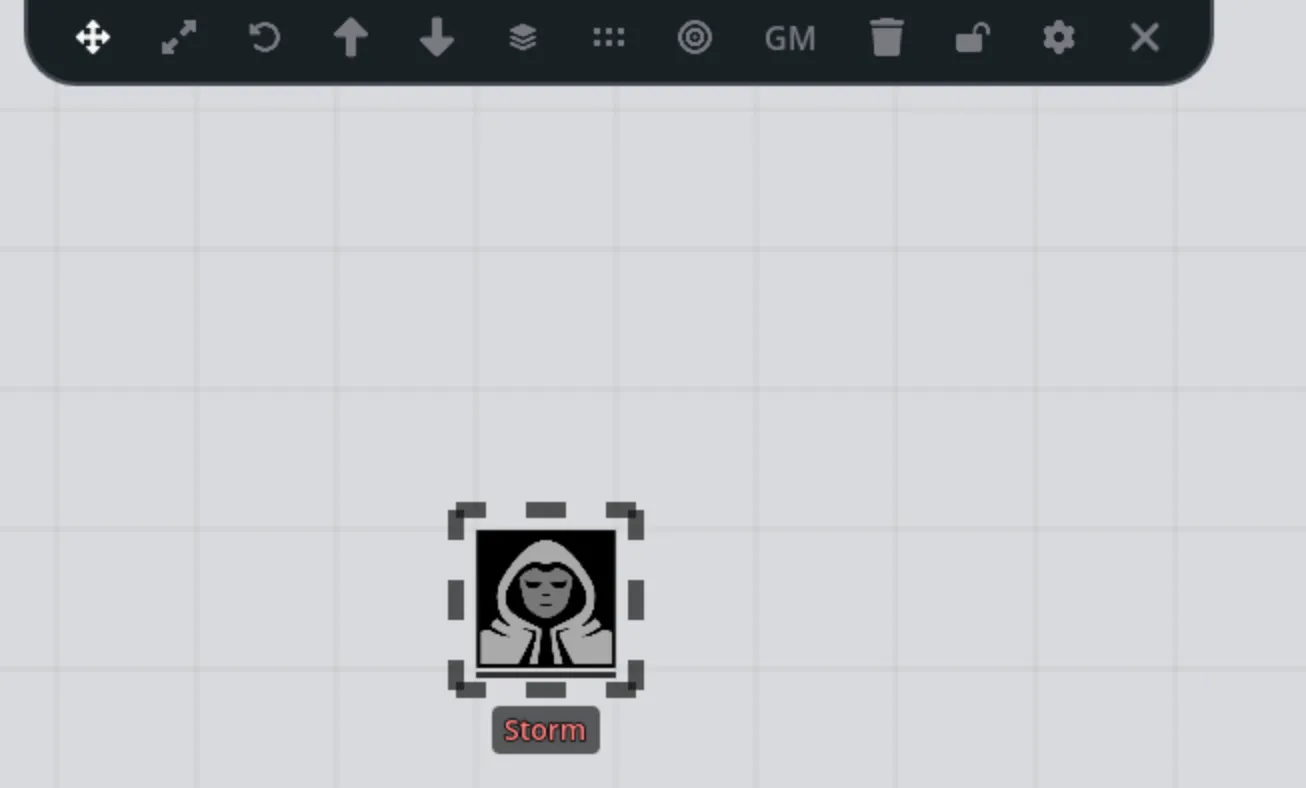
Placed backgrounds behave like other assets, which means you can rotate them, move them between layers, or copy them.
Use a Repeating Background
Section titled “Use a Repeating Background”Use this for paper textures, water, grass, stars, or another image that should repeat across the whole canvas.
- Open Settings.
- Under General, find Background Image.
- Choose an image from your asset library.
- Adjust its scale.
- Save the settings.
The Asset Library and Backgrounds guide covers folders, animated GIFs, spritesheets, and background choices in more detail.
Add a Character or Vehicle
Section titled “Add a Character or Vehicle”Open Assets and select Your Content. Characters and vehicles already in the game appear above your uploaded assets, grouped by actor type:
- Player Characters
- Player Vehicles
- NPCs
- NPC Vehicles
Select an actor to place its linked token on the current page.
If the actor isn’t listed, add it to the game table first. Return to Maps and reopen Your Content to place it.
Linked tokens can show names, wound or strain bars, hull or system strain, and minion counts. Select one to open its quick sheet.
Work with Assets
Section titled “Work with Assets”Select and Move
Section titled “Select and Move”- Click an asset with the Pointer tool.
- Hold
Shiftand click to add or remove assets from the selection. - Use the Lasso tool to select a group.
- Drag selected assets to move them.
- With a grid enabled, use arrow keys to move one cell or
Shift+ arrow keys to move five cells.
Resize, Rotate, and Copy
Section titled “Resize, Rotate, and Copy”- Press
Zfor Resize mode. - Press
Rfor Rotate mode. - Use
Cmd/Ctrl+CandCmd/Ctrl+Vto copy and paste. - Use
Cmd/Ctrl+Zto undo andCmd/Ctrl+Shift+Zto redo.
The action bar for a selected asset also includes visibility, locking, layer movement, sheet access, and other actions that apply to that asset type.
Set Up the Grid
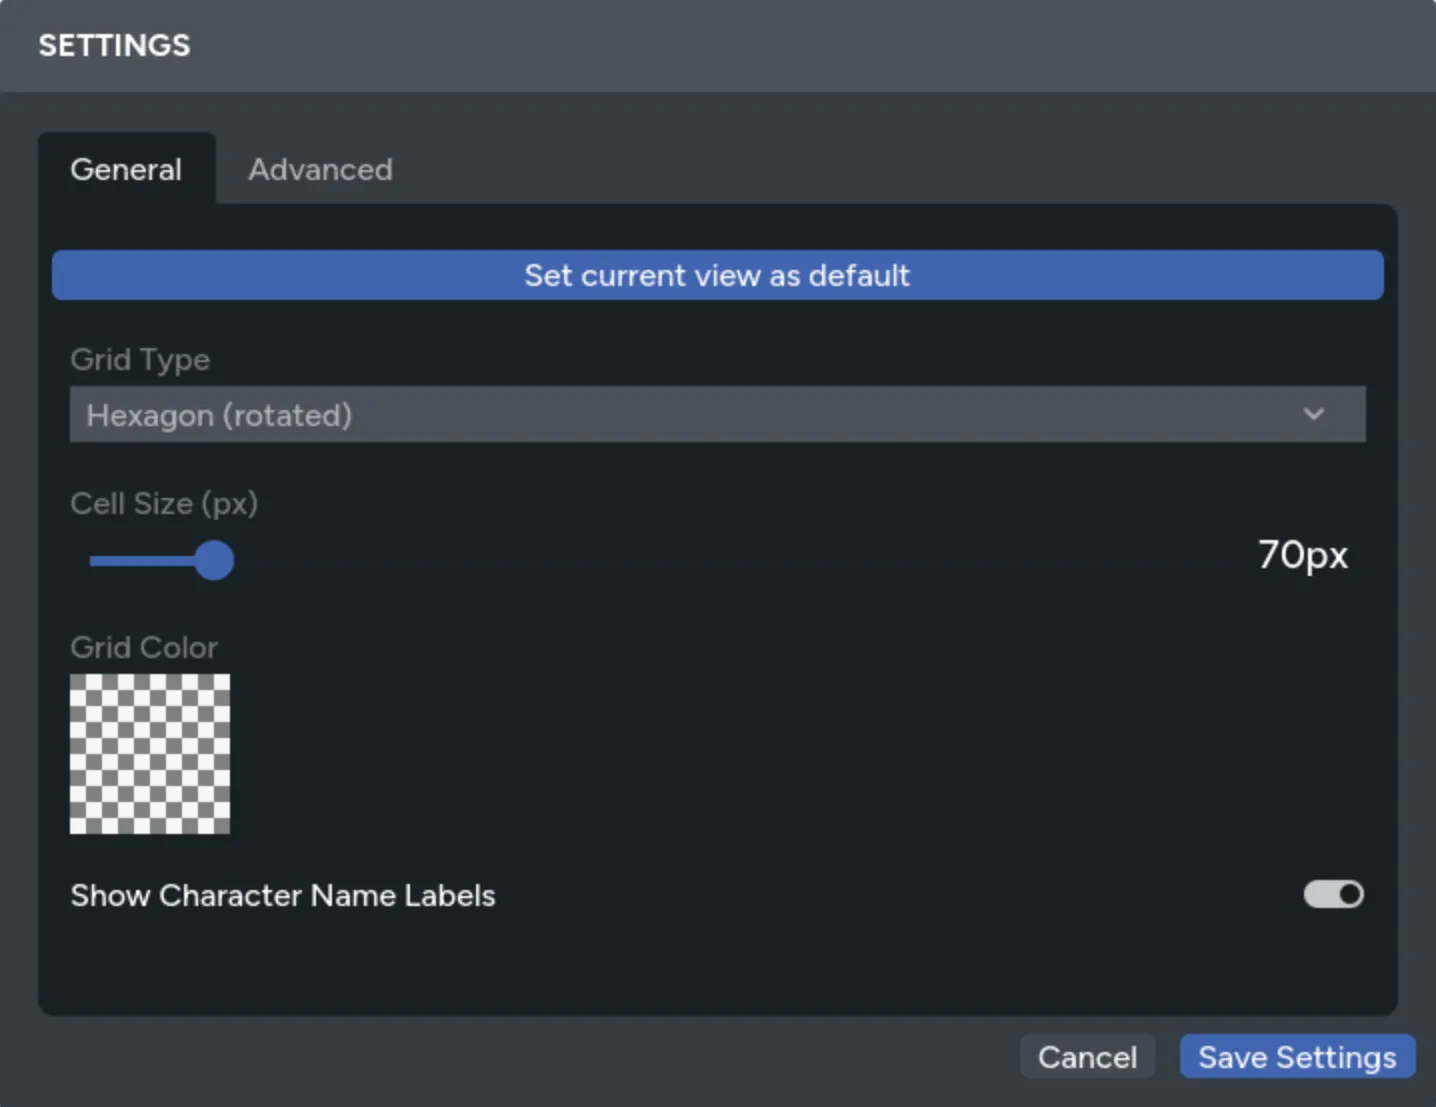
Section titled “Set Up the Grid”- Open Settings.
- Choose Square, Hexagon, Hexagon (rotated), or None.
- Set the cell size to match the map art.
- Choose a grid color that stands out against the background.
- Save the settings.
Hold Shift while dragging or resizing to snap an asset to the grid. The Grid System guide covers alignment tools and tiled-map workflows.
Save the Starting View
Section titled “Save the Starting View”Maps saves map changes as you work. You don’t need a page-level save button.
As a GM, you can also choose where everyone starts:
- Move and zoom the camera to the view you want.
- Open Settings.
- Select Set default map & view.
This page becomes the game’s starting map, and the saved camera position becomes its default view.
Try These Next
Section titled “Try These Next”- Use Fog of War to hide rooms and reveal them with a brush.
- Open Player Preview before a session to check what the group can see.
- Add Lighting and Walls for line of sight, exploration, doors, and token lights.
- Set up Portals between map pages.
- Save the finished page to your Map Library so you can reuse it in another game.
For every desktop key combination, see Keyboard Shortcuts.